


Since there is already Codex, why does DeepSeek need to develop a Harness?
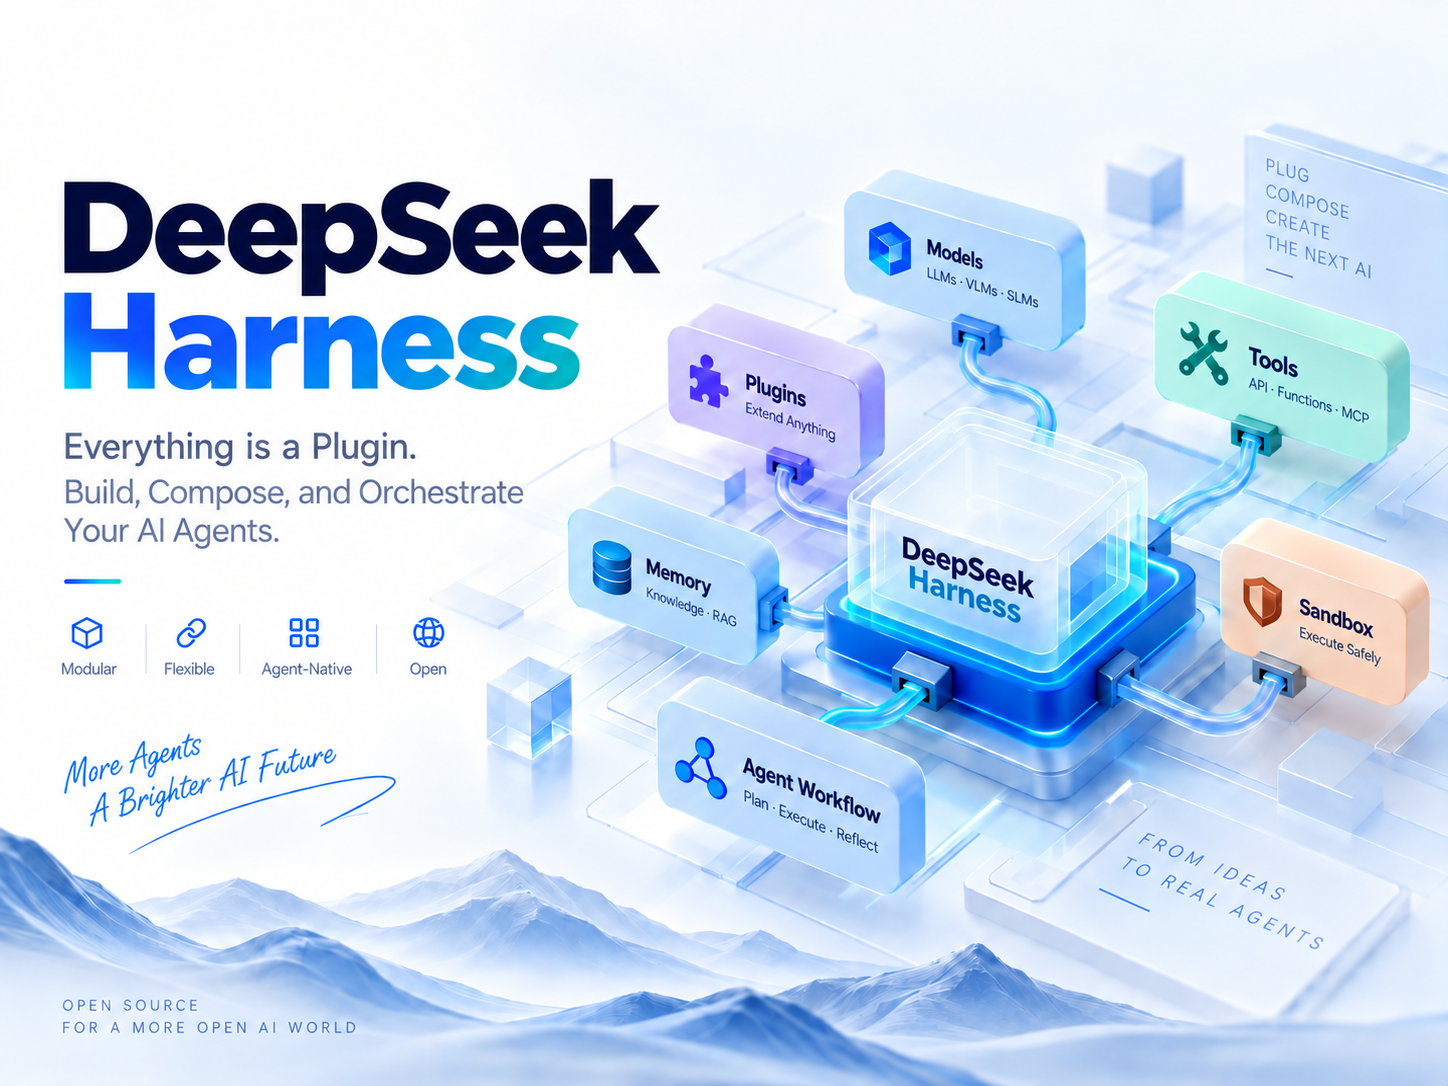
DeepSeek recently released a new project: DeepSeek Harness.
For many people, the first reaction was:
“Wait, what is a harness?”
“Codex and Claude Code can already write code, edit files, and run commands. Why install another tool?”
“Is this just another AI coding tool with a different interface?”
Here is the key idea:
DeepSeek Harness aims to do more than create another AI chat box. It turns an agent into a box of LEGO bricks that you can assemble however you like.
What makes this harness different?
Many AI coding products are like a fully assembled car: the model, tools, interface, and agent loop are already fitted together. You just get in and drive.
DeepSeek Harness is more like a custom car workshop.
Its core design philosophy comes down to one sentence:
Everything is a Plugin.
Models are plugins. Tools are plugins. Skills are plugins. So are sessions, sandboxes, storage, scheduling, and the UI. Even the loop that governs how an agent reasons and calls tools can be replaced.
A conventional harness usually lets you add a few tools or swap out some models. DeepSeek Harness aims to break the entire agent runtime into composable modules.
So its biggest distinction is not simply that it can write code too. It is this:
You can use an agent, take it apart, study it, modify it, and assemble a new one.
I already have Codex. Do I need this too?
If Codex is already doing your work well, keep using it. There is no need to give yourself another installation project just because something new has launched. Codex itself also supports skills, plugins, and external tools. If you only want to connect a knowledge base or add a set of common operations, switching may not be necessary.
But if you want to:
- Switch between models from DeepSeek, OpenAI, Anthropic, Kimi, or GLM in the same interface;
- Connect to your company's internal OpenAI-compatible gateway;
- Change how an agent calls tools and manages context;
- Develop your own tools, skills, storage, or UI plugins;
- Replay an agent run and inspect what it saw at every step;
- Branch from a failed step and rerun with a different model or approach;
- Study how different harness designs affect model performance;
Then DeepSeek Harness starts to look more like an agent laboratory.
Suppose your team needs to identify recurring issues in support tickets and compile a weekly report. At first, asking an off-the-shelf agent to summarize them is enough. Later, you want it to query internal tickets directly, classify them consistently, and save the results in a fixed location. Eventually, anything involving customer information must also respect access permissions. At that point, the question is no longer just which answer looks better. You also need to know whether these requirements can be maintained over time. That is when dsh is worth trying: connect the querying, processing, and saving steps one by one, then adjust whichever part needs to change.
This freedom comes at a cost. You have to configure the models, maintain the plugins, and sometimes investigate what changed after an upgrade. If you do not want to take on that work, “more flexibility” may simply mean more hassle. Decide what problem you are trying to solve before deciding whether it is worth the effort.
For beginners: the quickest way to get started
It may sound complicated, but the fastest way to try DeepSeek Harness takes just one command.
Step 1: Make sure Node.js is installed on your computer.
If you do not have Node.js yet, download and install it from the official Node.js website, then reopen your terminal.
Step 2: Copy this line and press Enter.
npx @deepseek-ai/dsh web
If you are prompted to install it on the first run, type y. Once it starts, a page will open in your browser. If it does not open automatically, visit the address shown in the terminal; the default is http://127.0.0.1:3080. Keep the terminal open while you use it.
Step 3: Enter your API key and choose a folder.
On the page, go to Settings → Models, enter the API key you obtained from the DeepSeek Platform, and save it.
Choose a local project folder as your workspace.
Step 4: Start a new session and tell it what you want done.
For example: Review the articles and notes in this folder and put together a reading list. For each item, include its title, main points, and the parts worth reading closely. Save it as “reading-list.md” and keep the original files.
For advanced users: take a look here!
If you think DeepSeek Harness is just a web-based AI coding assistant, you are underestimating it.
1. One harness, multiple models
Alongside DeepSeek, it supports several built-in model providers. You can also connect custom services that use the OpenAI Chat Completions, OpenAI Responses, or Anthropic Messages protocols.
This lets you choose different models for different tasks:
- Use one model to analyze requirements;
- Use another to write code;
- Use a reasoning model for complex problems;
- Use a lower-cost model for repetitive tasks.
The harness is no longer tied to a single model. The model becomes an “engine” you can swap whenever you need to.
2. Branch directly from a failure
DeepSeek Harness records execution in append-only session logs, including context injection, tool calls and results, and sub-agent scheduling.
If an agent goes wrong at step 20, you do not necessarily have to start over.
You can resume or branch from a particular point, change the instructions, switch models, and see what happens along a different execution path.
This goes beyond reviewing a chat history: you are debugging an agent's reasoning and action trajectory.
3. Switch between execution modes
DeepSeek Harness offers several execution modes:
- Standard mode: use the full set of tools for everyday tasks;
- PTC mode: have the model generate code to combine multiple rounds of tool calls;
- Minimal mode: keep only a small set of tools for model testing and benchmarking;
- Creative mode: inspect the current environment and experiment with new combinations of plugins and modes.
While everyday users are using agents, advanced users are exploring how to design them.
4. Develop your own plugins
Because models, tools, skills, storage, sandboxes, scheduling, and the UI can all be implemented as plugins, you can build specialized agents around your own business needs.
For example:
- A code review agent that automatically checks GitHub pull requests;
- An enterprise Q&A agent connected to an internal knowledge base;
- An operations agent that checks service health on a schedule;
- An analysis agent that reads business data and generates reports;
- An automation agent that incorporates your company's approval process.
You do not need to build an entire agent system from scratch. Just replace or add the capabilities you need.
That is all for today. There is plenty more to explore—give it a try and see what you can build!
